
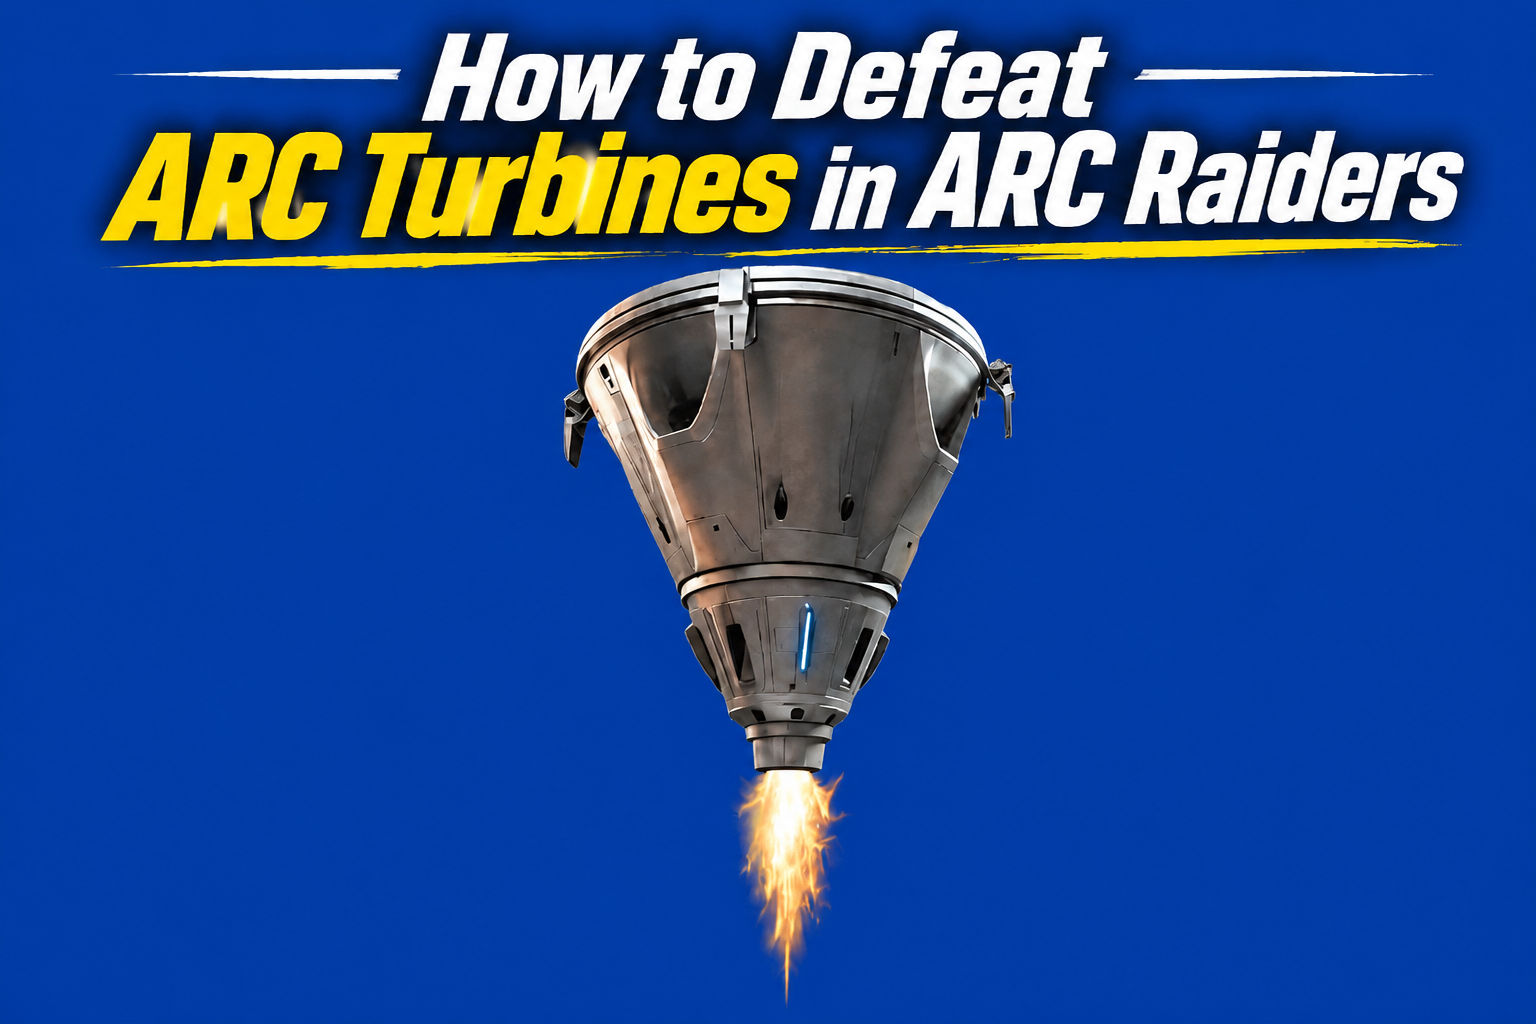
An ARC Turbine encounter can drain a Raider’s ammunition and recovery supplies quickly. Its armored body makes careless shots expensive, while lightning attacks, ground hazards, and nearby enemies can turn a planned hunt into a desperate retreat. The safest fights start with a clear objective: know whether you need quest damage, a full kill, or salvage before you fire.
Prepare your ARC Raiders Items around that objective. Bring a reliable weapon, enough ammunition for repeated attacks, a shield, and recovery supplies. Leave room for the materials you hope to extract with, and check the map condition before committing valuable gear.
Where to Find ARC Turbines
According to the map information provided, ARC Turbines can appear on Buried City, Riven Tides, Blue Gate, and Spaceport. Spawn availability depends on the map and its active condition, so a suitable map does not guarantee an encounter.
| Map | Advantages | Main Risks |
|---|---|---|
| Buried City | Buildings offer solid cover and escape routes | Exposed streets and rooftops |
| Riven Tides | Open sightlines for spotting Turbines | Limited cover near water |
| Blue Gate | Connected paths for quick attacks and retreats | Narrow routes can trap you |
| Spaceport | Industrial structures provide cover | Open areas attract enemy fire |
Dam Battlegrounds is a less dependable choice for a Turbine hunt: the machine was removed from standard sessions and most minor map conditions in the update described. It can still appear under selected conditions, so check the current map information before deploying.
Choosing the Right Map
Pick a map that suits the way you intend to fight. Buried City and Blue Gate offer structures that can help solo players break line of sight and change position. Riven Tides gives a squad more room to see the target, but the same open ground can expose the team. Spaceport offers useful industrial cover if you plan your route between structures before opening fire.
The best location is the one that gives you a firing angle and a safe way out. If you find a Turbine in an exposed area with no cover nearby, follow it from a distance or wait for a better opportunity.
Understand the Turbine’s Threats
Turbines punish players who stay in one place or spend too much ammunition on protected armor. During an encounter, watch for:
- Armored sections: Shots into the protected shell are inefficient. Look for exposed yellow components, joints, and the core when vulnerable.
- Lightning attacks: Remaining at one position for too long can leave you exposed.
- Mines and ground hazards: A direct route toward the machine or its wreck may become dangerous.
- Nearby ARC: Smaller enemies can interrupt healing, block a retreat, or force you out of cover.
- Other Raiders: Sustained gunfire announces your position and can attract players looking to interrupt the fight or loot the wreck.
The Turbine itself is only part of the risk. A fight that begins safely can become difficult if your shield is depleted, your escape route is blocked, or another squad arrives.
Recommended Loadout
A Turbine loadout should give you enough damage to make progress without sacrificing your ability to survive the trip home. The exact gear you bring depends on whether you need a full kill or only a small amount of quest damage.
| Equipment | Purpose |
|---|---|
| Combat Weapon | Deal consistent damage to weak points |
| Extra Ammo | Maintain damage output during longer fights |
| Shield Rechargers | Restore shields between attacks |
| Healing Items | Recover health after taking damage |
| Mobility Gear | Move between cover and escape danger |
| Free Inventory Space | Collect valuable materials without rearranging gear |
A mobility tool can get you out of trouble, but check where you will land before using it. Moving quickly into open ground can put you in a worse position.
For a damage-only objective, consider a lighter setup and a shorter engagement. For a full kill, bring enough ammunition and recovery supplies to finish the fight and still handle the extraction route.
How to Fight an ARC Turbine
Find Hard Cover Before Firing
Approach carefully and watch the Turbine’s movement. Choose a position that protects you from direct attacks and gives you access to a second piece of cover. A building corner or substantial structure is more useful than a position that leaves you exposed as soon as you need to reload.
Before committing, look behind you. Your retreat route should be clear of nearby ARC and should not lead straight into a minefield or an open area.
Aim for Exposed Components
When the Turbine presents a clear angle, target its visible yellow parts, joints, or exposed core. Use controlled bursts and watch for signs that your shots are dealing useful damage.
Avoid emptying a magazine into a moving target when the weak point is hidden. Wait for a better angle, reposition, and save ammunition for a vulnerable opening.
Move Between Attack Windows
Fire from cover, then relocate before the Turbine can maintain pressure on your position. Keep the next piece of cover in mind before leaving the first one.
Movement should be deliberate. Check the ground for mines and avoid sprinting through areas you have not observed. A longer route around a hazard may be safer than a direct path toward the target.
Reassess Your Supplies
Use a quiet moment between attacks to check ammunition, shield charge, health, and the surrounding area. If the fight is taking longer than expected, decide whether you can finish it and still reach extraction.
Do not commit to the final phase merely because you have already spent resources. If the objective is complete and your supplies are running low, leaving can preserve the value of the raid.
Solo Turbine Strategy
Solo players have no teammate to watch their flank or draw the Turbine’s attention. Fight from a position with multiple exits, attack briefly, and move before the machine forces you out.
Avoid chasing a Turbine through open terrain. If it moves away from useful cover, let it go or follow at a distance until you have a safer angle. Listen between bursts for footsteps and nearby ARC; your own gunfire can make an approaching threat difficult to notice.
For a quest that only requires damage, secure the objective and withdraw. If you need the kill, keep enough ammunition and healing supplies in reserve for the trip to extraction.
Duo and Squad Strategy
A duo can divide attention by fighting from separate positions. One Raider focuses on movement and draws the Turbine’s attention while the other attacks exposed components. Switch responsibilities if the first player needs to recharge or heal.
Larger squads benefit from clear roles before the fight starts:
- Weak-point attacker: Focuses on accurate damage during vulnerable openings.
- Lookout: Watches for other Raiders and smaller ARC.
- Support player: Carries recovery supplies and helps keep a retreat route open.
Spread out enough that one attack cannot catch the whole group. At the same time, stay close enough to communicate and support a teammate who needs help. If the lookout identifies an approaching squad, decide together whether to finish the Turbine or disengage before both threats converge.
How to Loot a Turbine Wreck Safely
A defeated Turbine can still be surrounded by danger. Other players may have heard the fight, and mines or surviving ARC may remain near the wreck.
Pause behind cover before approaching. Listen for movement, inspect elevated positions, and check the route to the wreck. Once the area appears clear, take the materials needed for your objective and prioritize valuable loot over items you can easily replace.
Prepare your inventory before the fight when possible. Searching through a full bag beside a noisy battlefield gives other Raiders more time to close in. Place especially valuable items in safe pockets where possible, then move toward extraction rather than continuing to search without a clear reason.
When to Disengage
Leave the encounter when the remaining reward no longer justifies the resources and risk. Common reasons to retreat include:
- Your main weapon is nearly out of ammunition.
- Your shield is depleted and recovery supplies are running low.
- The Turbine has forced you into open ground.
- Smaller ARC are preventing you from attacking or healing safely.
- Other Raiders are approaching.
- Your extraction route is becoming unsafe.
- You have already completed the required damage objective.
Players using ARC Raiders Boosting or organizing a group hunt can follow the same practical checklist: confirm the map condition, agree on the objective, assign positions, and choose an extraction route before engaging. A controlled fight leaves you with more ammunition, more options, and a better chance of carrying your salvage out of the raid.